Difficulty
Moderate
Steps
2
Time Required
02:00:00 - 03:00:00

In Progress
This guide is currently being written. Reload periodically to see the latest changes.

Private
This guide will not appear in search results and can only be viewed by team members!
Quiz
0
Introduction
This guide will provide step by step instructions to build a 30A OpenEVSE Charging Station.
-
-
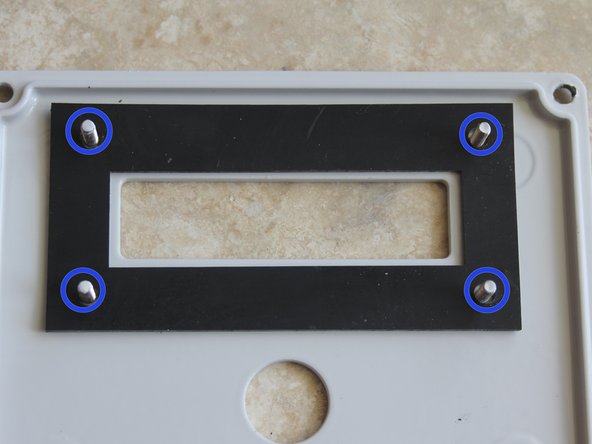
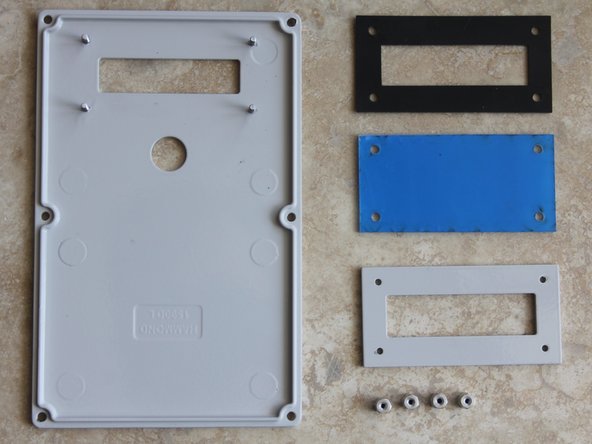
Place Enclosure lid on a soft surface, use care not to damage or scratch the enclosure finish. Remove HEX standoffs from the lid.
-
Clean the laser cut LCD seal and enclosure surface to ensure a proper water tight seal.
-
Place Seal over fasteners
-
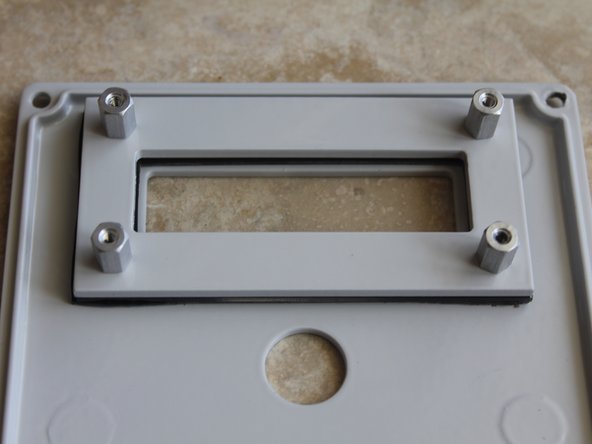
Peel the protective covering from the laser cut clear acrylic window. Ensure the window is clean. Place over fasteners on top of the seal.
-
Place the machined pressure plate on top of the LCD. Replace all 4 HEX standoffs loosely.
-
IMPORTANT- evenly apply pressure to the sandwich alternating in a X pattern (Top Left - Bottom Right - Bottom Left - Top right) slowly until the Seal begins to enlarge.
-
Test seal by pouring water on the front side of the LCD window. If water leaks to the back side adjust seal pressure.
-
-
-
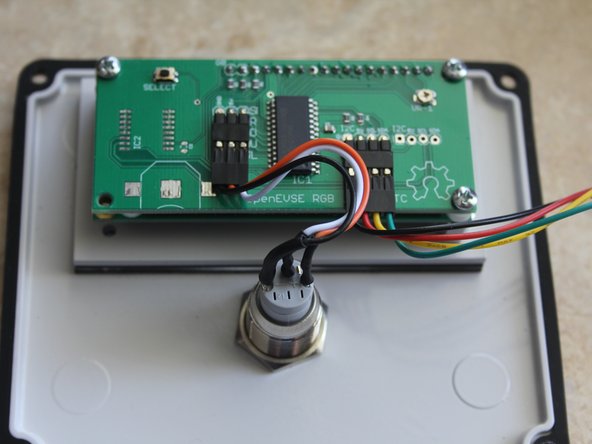
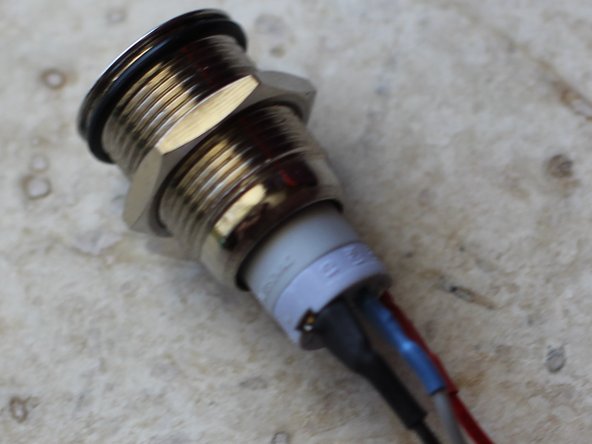
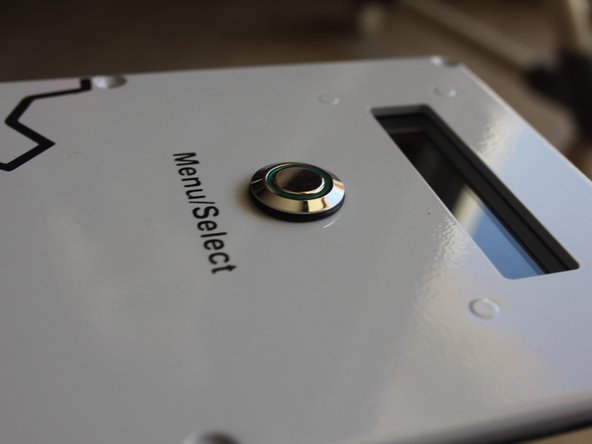
Mount the water resistant button switch to the enclosure lid. Seal should be placed on the outside. Tighten until seal expands.
-
Screws should be secure. Take care not to over tighten.
-
Using 4 - 1/2" screws. Mount built LCD module to the lid. Place nylon spacers between the logic board and LCD.
-
Screws should be secure. Take care not to over tighten.
-